
Users & Invitations
The User Management page is where administrators create and manage user accounts. Access it from Administration > User Management.
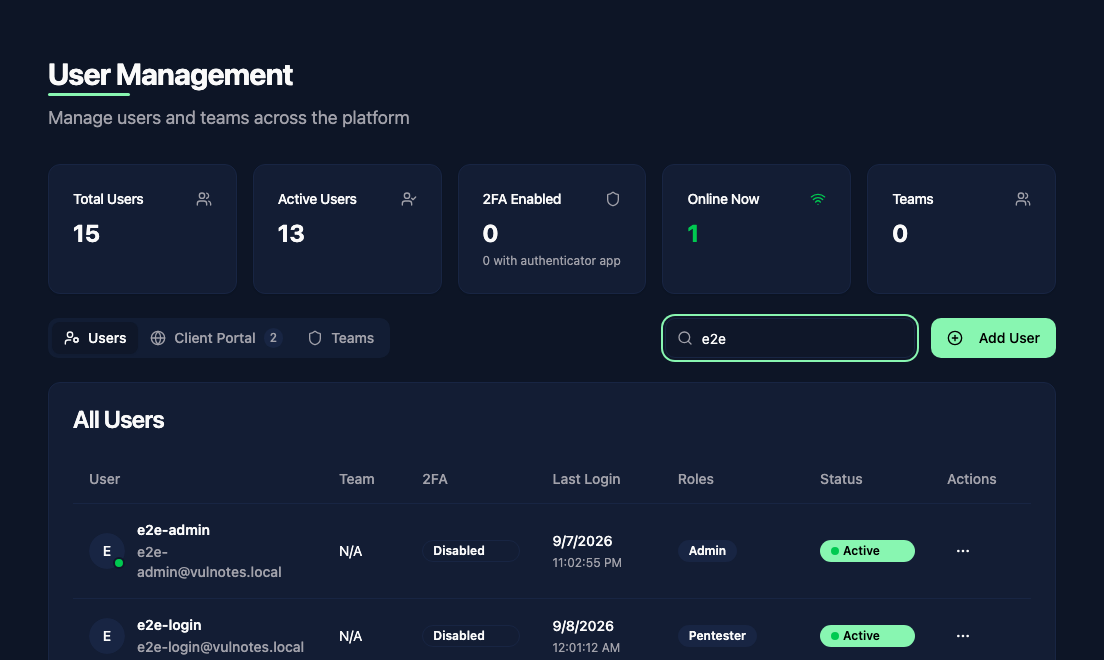
Adding users
Click Add User to open the invitation dialog. You need to provide:
- Email Addresses - one or more recipients, separated by commas
- Default Roles - roles assigned to the invited users (see Roles & Permissions)
- Default Team (Optional) - a shared team assignment
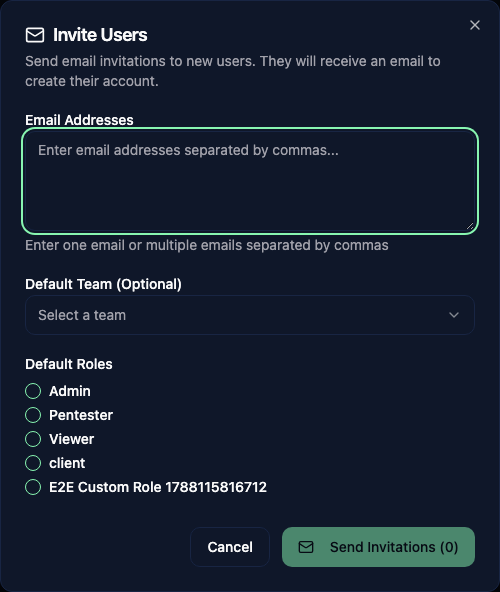
Click Send Invitations. Each recipient receives a link to create their account and choose a password. Pending Invitations lists invitations that have not been accepted; use its row menu to resend or cancel one. Email delivery must be configured on self-hosted instances.
Managing existing users
Click the ... menu on any user row to:
- Edit - change their role, team, or other details
- Reactivate - restore a deactivated account
- Delete - remove the account from user management and revoke its sessions
To deactivate an account, open Edit and turn off Active. Deactivated users cannot sign in or use their API keys, but their authored data is preserved. Editing a user does not let an administrator set a replacement password or reset their authenticator.
Client portal accounts appear separately from internal users. Invite client contacts and manage their report access from the Clients page.