

Air-Gapped Windows Installation
The Vulnotes Air-Gap Workstation is made for highly sensitive environments where the reporting computer cannot connect to the internet. This includes classified networks, restricted client sites, secure laboratories, and other isolated systems.
The Windows installer contains the full application. Download it on a connected computer, copy it to an approved USB drive, plug the drive into the isolated computer, and run the installer. Activation also stays offline. A short request and a signed response token are moved between the isolated computer and the Vulnotes Manager portal using the USB drive.
Your reports, findings, attachments, and user data stay on the isolated computer.
What you need
- A 64-bit Windows computer
- A Vulnotes Air-Gap Workstation license with an available activation
- Access to manager.vulnotes.com from a separate, connected computer
- An approved USB drive or other removable media
- At least 1 GB of free space for the application, plus space for your Vulnotes data
TIP
Use removable media that follows your organization's transfer and sanitization policy. A dedicated drive is recommended for restricted environments.
Download the installer
On a computer with internet access:
- Sign in to manager.vulnotes.com.
- Open Air-Gap in the left menu.
- Check that your license has an available activation and copy the license key. You will need it when Vulnotes starts for the first time.
- Under Download or update, download the Windows x64 version of Air-Gap Workstation.
- Copy the installer to your approved USB drive.
Install Vulnotes on Windows
Move the USB drive to the isolated Windows computer, then:
- Open the USB drive and run the Vulnotes setup file.
- Approve the Windows administrator prompt if it appears.
- Keep the default installation folder,
C:\Program Files\Vulnotes, or choose another folder. - Select Install.
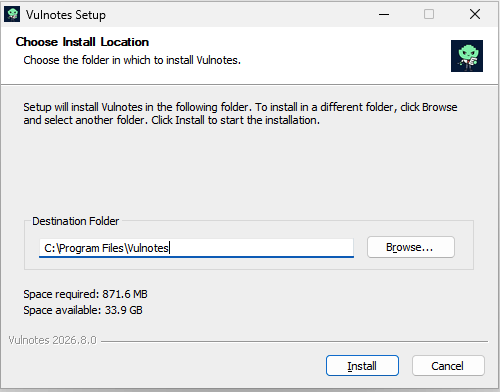
When setup is complete, leave Run Vulnotes selected and choose Finish.
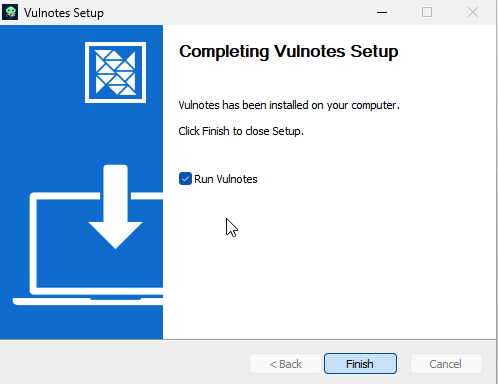
The application is now installed. The isolated computer does not need a network connection to start or use Vulnotes.
Activate the workstation
Find and copy your license key from the Air-Gap section of Vulnotes Manager.
When Vulnotes opens for the first time, enter this license key and select Generate activation request. Copy the complete request block, including every line beginning with VNAG, to a text file on the USB drive.
Move the USB drive back to the connected computer and open Air-Gap in Vulnotes Manager. Under Activate & renew, select Activate a new install, paste the request, and select Activate a new install again. Download the resulting vulnotes-airgap-token.txt file to the USB drive.
WARNING
Do not edit the activation request or token. Both are signed and will be rejected if their contents change.
Return the USB drive to the isolated computer, open the token file, and paste its complete contents into the activation window. Select Activate. Vulnotes verifies the token locally and starts without contacting the internet.
Create the administrator account
On the first start after activation, enter the administrator's username, email address, name, and password. Select Create Admin when all password requirements are met.
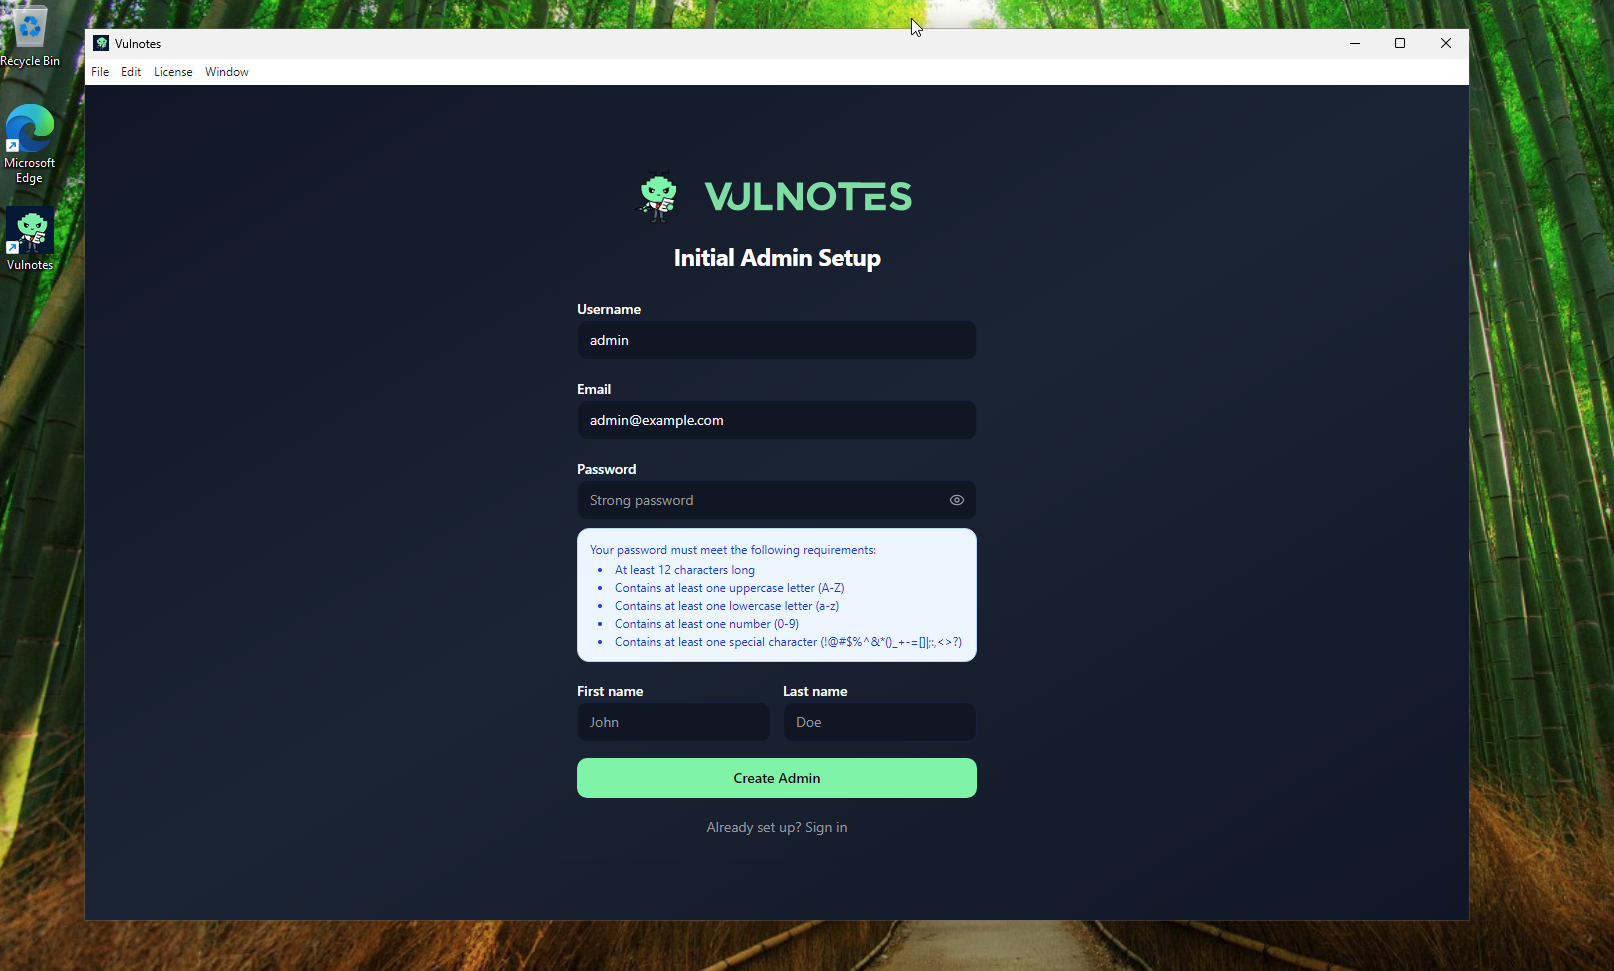
The workstation is now ready to use. You can remove the USB drive after setup.
Moving files in a sensitive environment
The activation exchange does not send reports or findings to Vulnotes Manager. Only the installer, the activation request, and the signed activation token need to cross the air gap.
Treat these files according to your organization's removable-media rules. Scan the drive on the connected side, record transfers when required, and remove temporary copies after activation if your policy calls for it.
Next steps
- Initial Setup: Configure your account and security settings
- Air-Gap Maintenance: Renew, update, or move the workstation